How to Add a Custom Background in Cisco Webex (Step-by-step Guide)
Using a custom background in Cisco Webex helps you look more professional, hide distractions, and maintain privacy during video calls. Whether you're working from home, attending an online meeting, or presenting to clients, setting a virtual background takes only a few seconds.
In this guide, you'll learn how to add, change, and customize your Cisco Webex background step-by-step.
Why Use a Custom Background in Cisco Webex?
Before jumping into the setup, here are a few reasons why professionals use custom backgrounds:
- Maintain a clean and professional appearance
- Hide messy or distracting environments
- Protect privacy in shared spaces
- Reinforce personal or company branding
- Improve confidence during meetings
Cisco Webex supports uploading your own customizd background image and apply it before or during a meeting.
Step 1 - Open Cisco Webex application
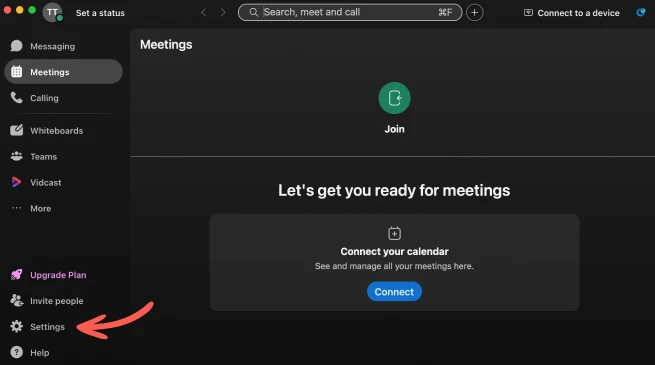
- Open the Cisco Webex desktop application on your computer
- Navigate to the Settings pane
Step 2 - Open Video/Background Settings
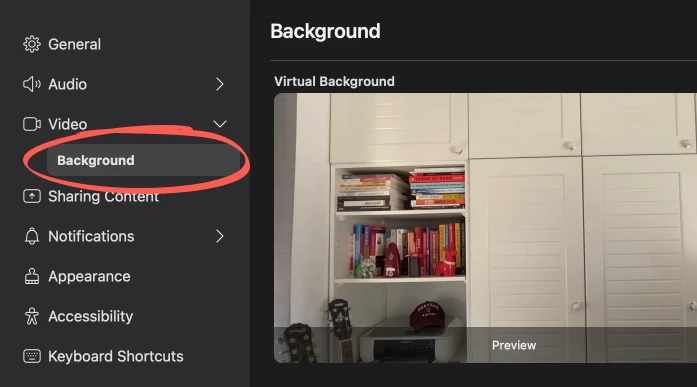
Using the sidebar on the left:
- Navigate to Video -> Background
Step 3 - Upload a Custom Background
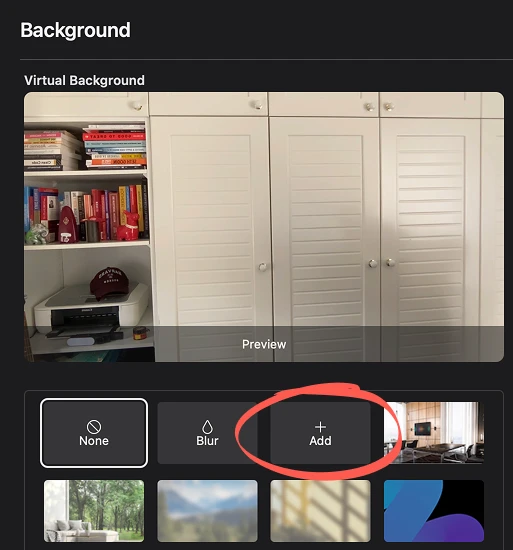
Using the sidebar on the left:
- Click the + Add button
- Choose your background image from your computer
Step 4 - Preview your Background
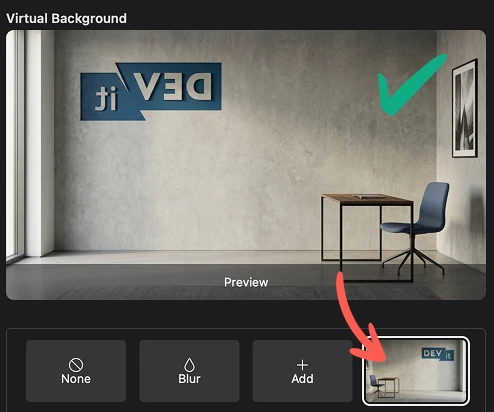
Webex will automatically apply the background to your preview. Adjust your camera position if needed.
Your background will appear mirrored in preview. That is actually the correct way in order for the other meeting counterparts to view it properly.
Tips for Better Webex Backgrounds
For best results:
- Use high-resolution images (1920×1080)
- Avoid very busy patterns on your background
- Make sure your face is well lit
- Ensure your physical background is as plain as possible with adequate contrast
- Choose backgrounds that match professional settings
Using a professional backdrop generation service like VirtualBackgrounds can help you create amazing backgrounds in a few minutes.